Connect the platform to your world and manage who can use it — checkout integration (incl. WooCommerce), partner API keys, ISP staff accounts, and your provider profile.
Set up how the platform connects to your stack and who on your team can operate it.
Choose how subscribers check out — Kurnl marketplace (the built-in flow),
an external checkout, or your own WooCommerce store.
1
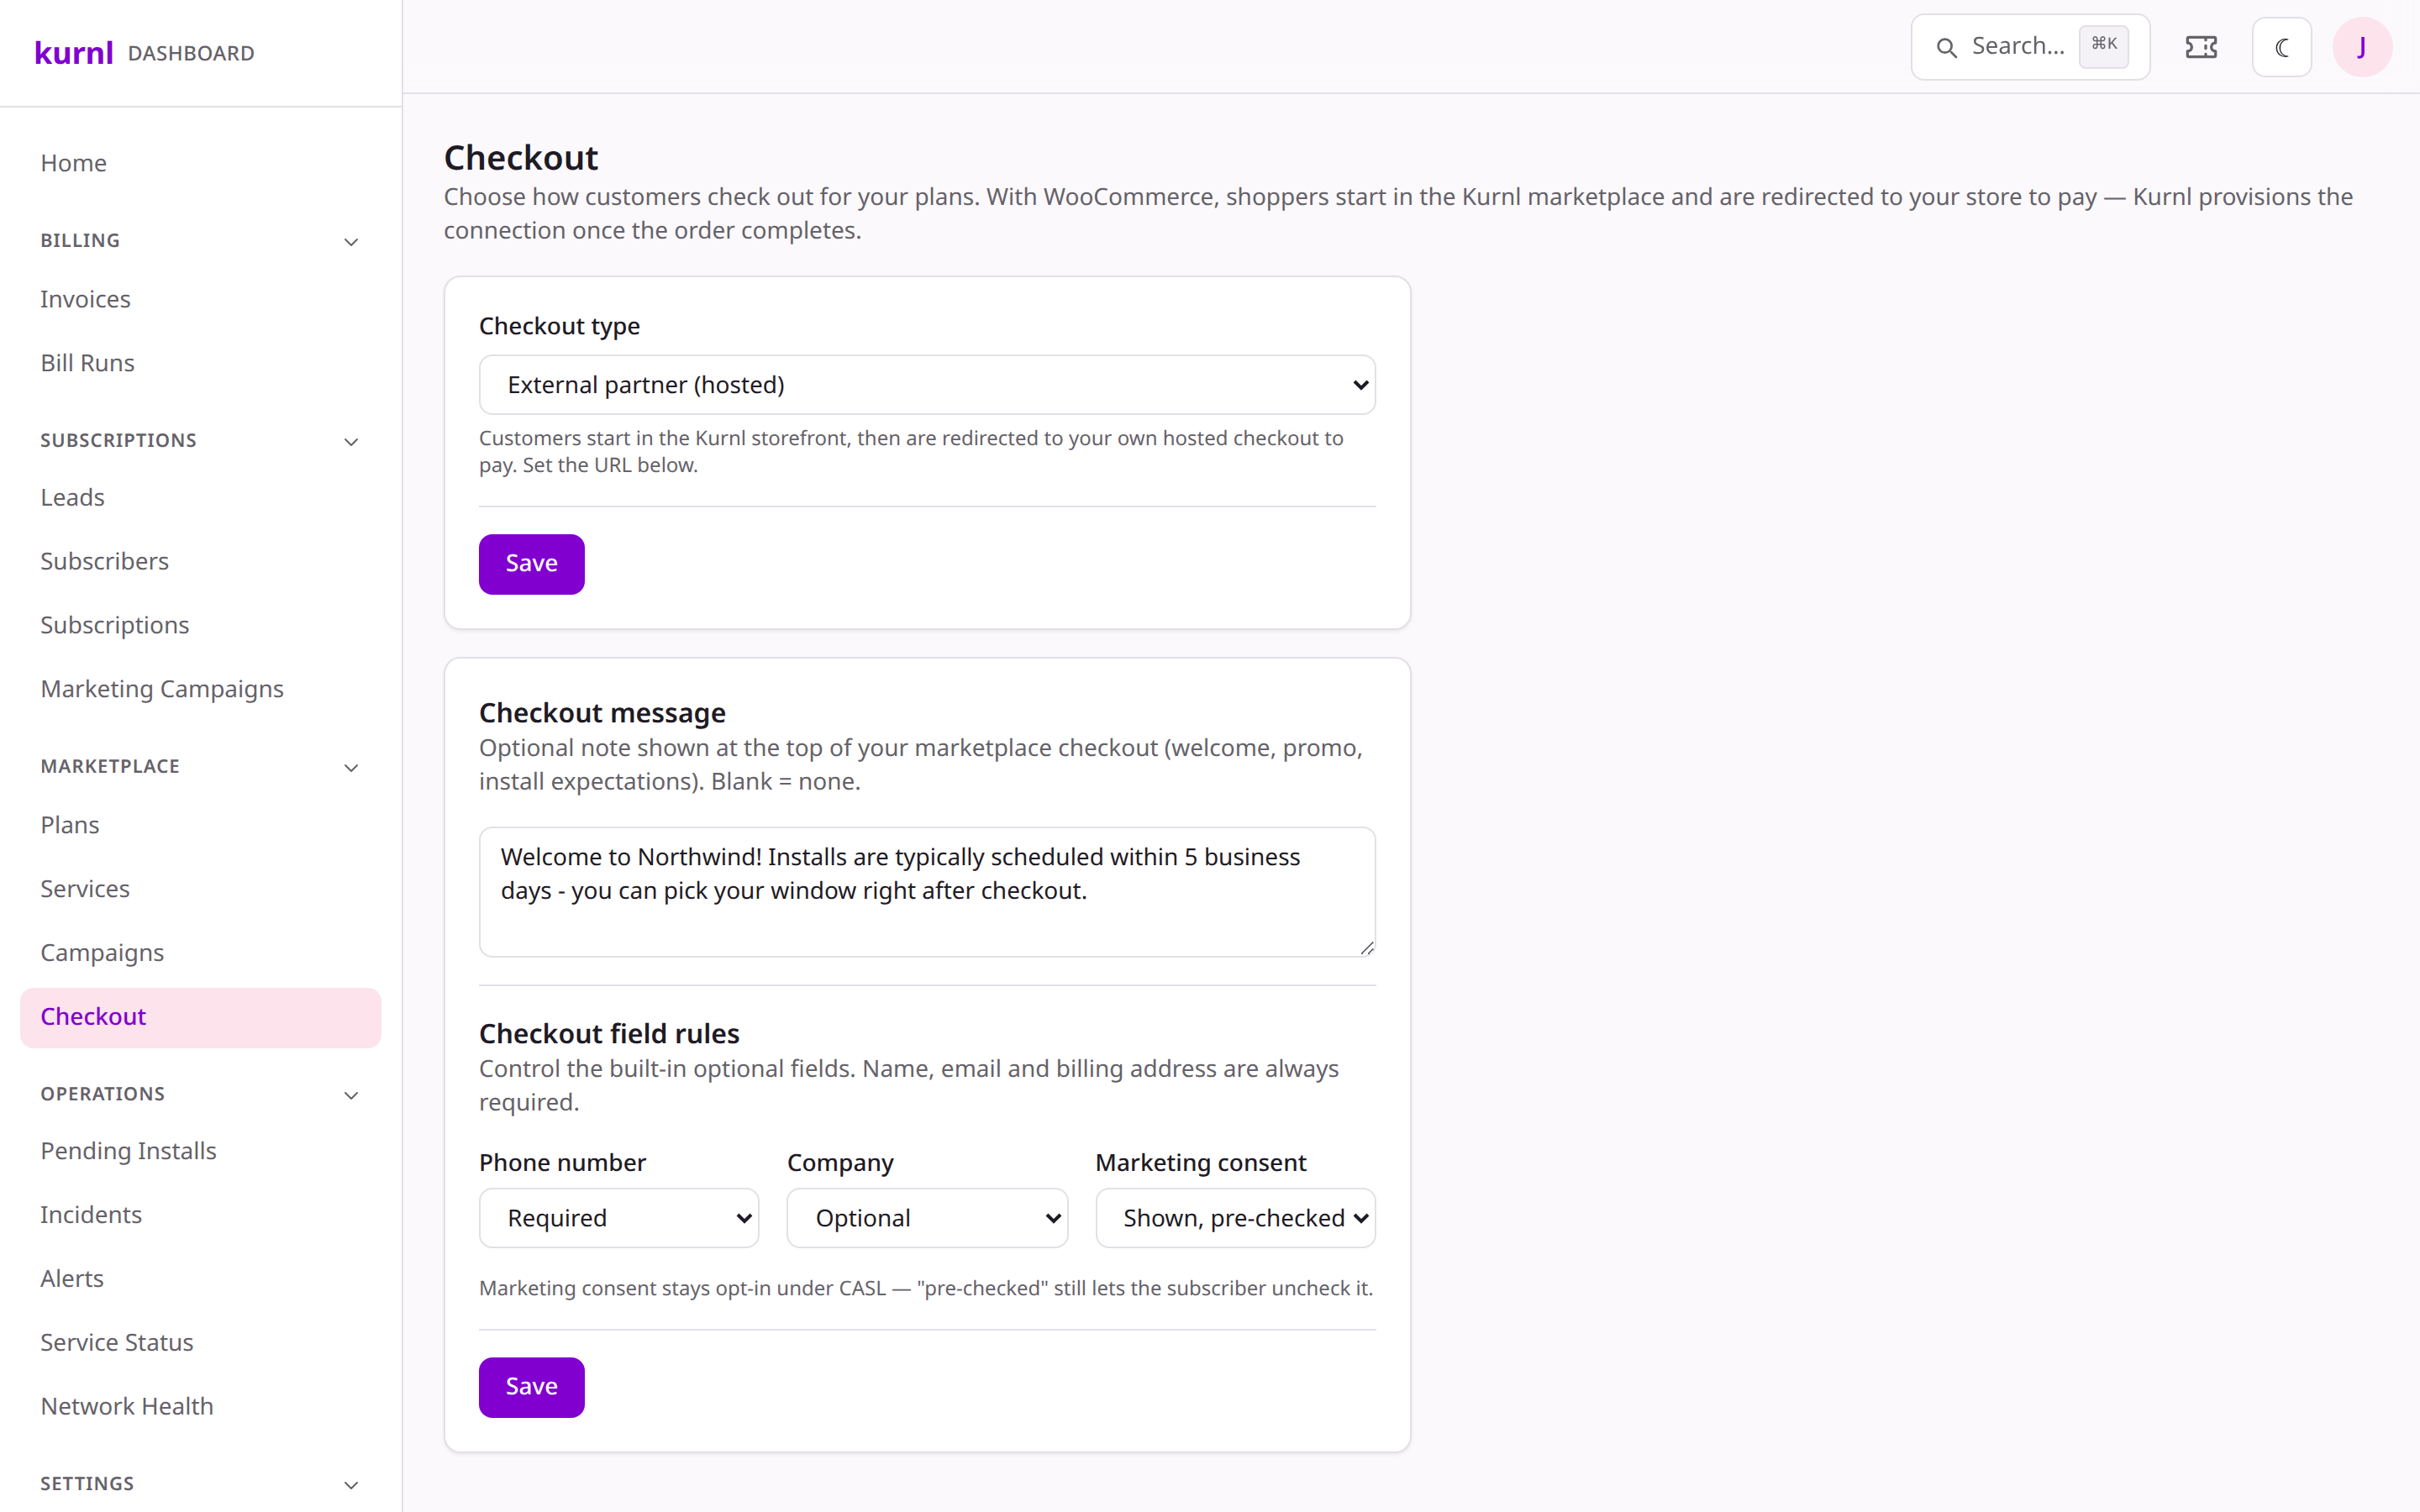
Open Checkout settings
In Checkout, pick the Checkout type. The two external options are
External partner (hosted) — for a custom store or billing platform —
and WooCommerce — for your own WooCommerce store. Both expose the same
two fields: the Store checkout URL and the Shared webhook secret —
kurnl redirects shoppers to that URL and your system calls kurnl’s API back
when payment succeeds.
Checkout integration settings
No storefront plugin required. An external checkout is a plain
server-to-server integration: your store reads the redirect, calls kurnl’s API
when payment succeeds, and (if you bill directly) calls suspend/restore. Your
developers implement it against whatever stack you run — WooCommerce, a custom
cart, or a billing platform. See the Partner Integration Overview
and API Reference.
API keys are generated by kurnl (never pasted); the webhook secret can be
pasted or generated. Both are write-only in the UI and cached briefly — a
rotation can take a few minutes to take effect.
Selling through WooCommerce? See Sell through WooCommerce
for the WooCommerce-specific choices — billing, recurring subscriptions, and
how your developer connects the store to kurnl’s API.
Each provider connects their own Stripe account — there is no platform-wide key, so
customer payments go straight to the provider they belong to.
1
Paste a restricted key
On ISP Profile → Payments (Stripe), create a restricted key in your Stripe dashboard
(Developers → API keys → Create restricted key) with these permissions, all write:
Checkout Sessions, Customers, PaymentIntents, SetupIntents, PaymentMethods, Refunds, and
Webhook Endpoints. Paste it in — kurnl verifies the key, creates the webhook endpoint in
your account and stores the signing secret. Nothing else needs configuring at Stripe.
2
Or have an operator connect it for you
An operator can paste the same restricted key on your provider page to connect Stripe on
your behalf, e.g. during onboarding.
Production accepts only a live key (rk_live_… / sk_live_…); every other environment
accepts only a test-mode (Sandbox) key (rk_test_… / sk_test_…).
Replace key is refused only when the new key belongs to a different Stripe account
and you have live subscriptions (any status other than cancelled or terminated) — a
replacement key from the same account is always accepted. Disconnect is refused while any
subscription is live, and while your checkout type is Kurnl marketplace — switch to the
external checkout first, or wait for those subscriptions to end.
No Stripe connection, no Kurnl marketplace checkout: a provider without Stripe can still sell
through the external checkout, but the built-in checkout needs a connected account.
By default your customer e-mail goes out on Kurnl’s SendGrid account, from @kurnl.ca
addresses. Connect your own account and it leaves your account, from your verified
addresses, under your own sending reputation.
1
Verify a sender at SendGrid first
In your SendGrid account, either authenticate a domain (Settings → Sender Authentication →
Domain Authentication) or verify a single sender address. Kurnl reads that list — an account
with nothing verified cannot be connected, because nothing could be sent from it.
2
Paste an API key
On ISP Profile → Email sending (SendGrid), create an API key at SendGrid
(Settings → API Keys) with Mail Send permission, plus read access to Sender
Authentication so Kurnl can list what you may send from. Paste it in — Kurnl verifies the
key and reads your verified addresses and authenticated domains. Nothing is created or
changed in your SendGrid account.
3
Choose your From addresses
Pick a default address for each of the four sender roles — billing, orders, support and
status. Individual e-mail templates can override it on
Provider → E-mail templates. Only addresses your account can actually send from are
offered, so a template cannot be saved with an address that would silently bounce.
Verified a new address at SendGrid after connecting? Use Refresh on the card to re-read
your account — Kurnl caches the list at connect time.
Login and security e-mail always comes from Kurnl, never from your account: one-time login
codes, password resets, staff invitations and regulatory notices. Your SendGrid account being
suspended or unpaid can never lock your team out of the portal.
Disconnect is always allowed — your mail simply returns to Kurnl’s shared account and the
@kurnl.ca addresses. Templates keep any From address you chose, and it takes effect again
when you reconnect. To rotate a key, disconnect and reconnect with the new one.
Serviceability index (address check for partner stores)
Partner storefronts can ask kurnl “do you serve this address?” before starting a
checkout — an address autocomplete plus an availability verdict, scoped to each
provider’s own coverage (see the
Serviceability reference). Those answers come
from a search index that the kurnl operator refreshes manually.
1
Export after network changes
In Administration › Serviceability Index, check the connection status and
press Export now after changing buildings, service areas, or published
plans. The export rebuilds the index atomically — partners never see a
half-filled index.
2
Watch the coverage warnings
The export result lists providers without coverage — providers with no
owned or contracted buildings, no active service areas, and the
All Kurnl Buildings toggle off. Their partners get zero serviceability
results until coverage is configured (service areas — by postal code, city,
or province — or the All Kurnl Buildings toggle in the provider portal).
The index is advisory: checkout re-validates every order fail-closed, so a
stale index can delay a sale but never mis-provision one. Sandbox providers and
their demo buildings are never exported.
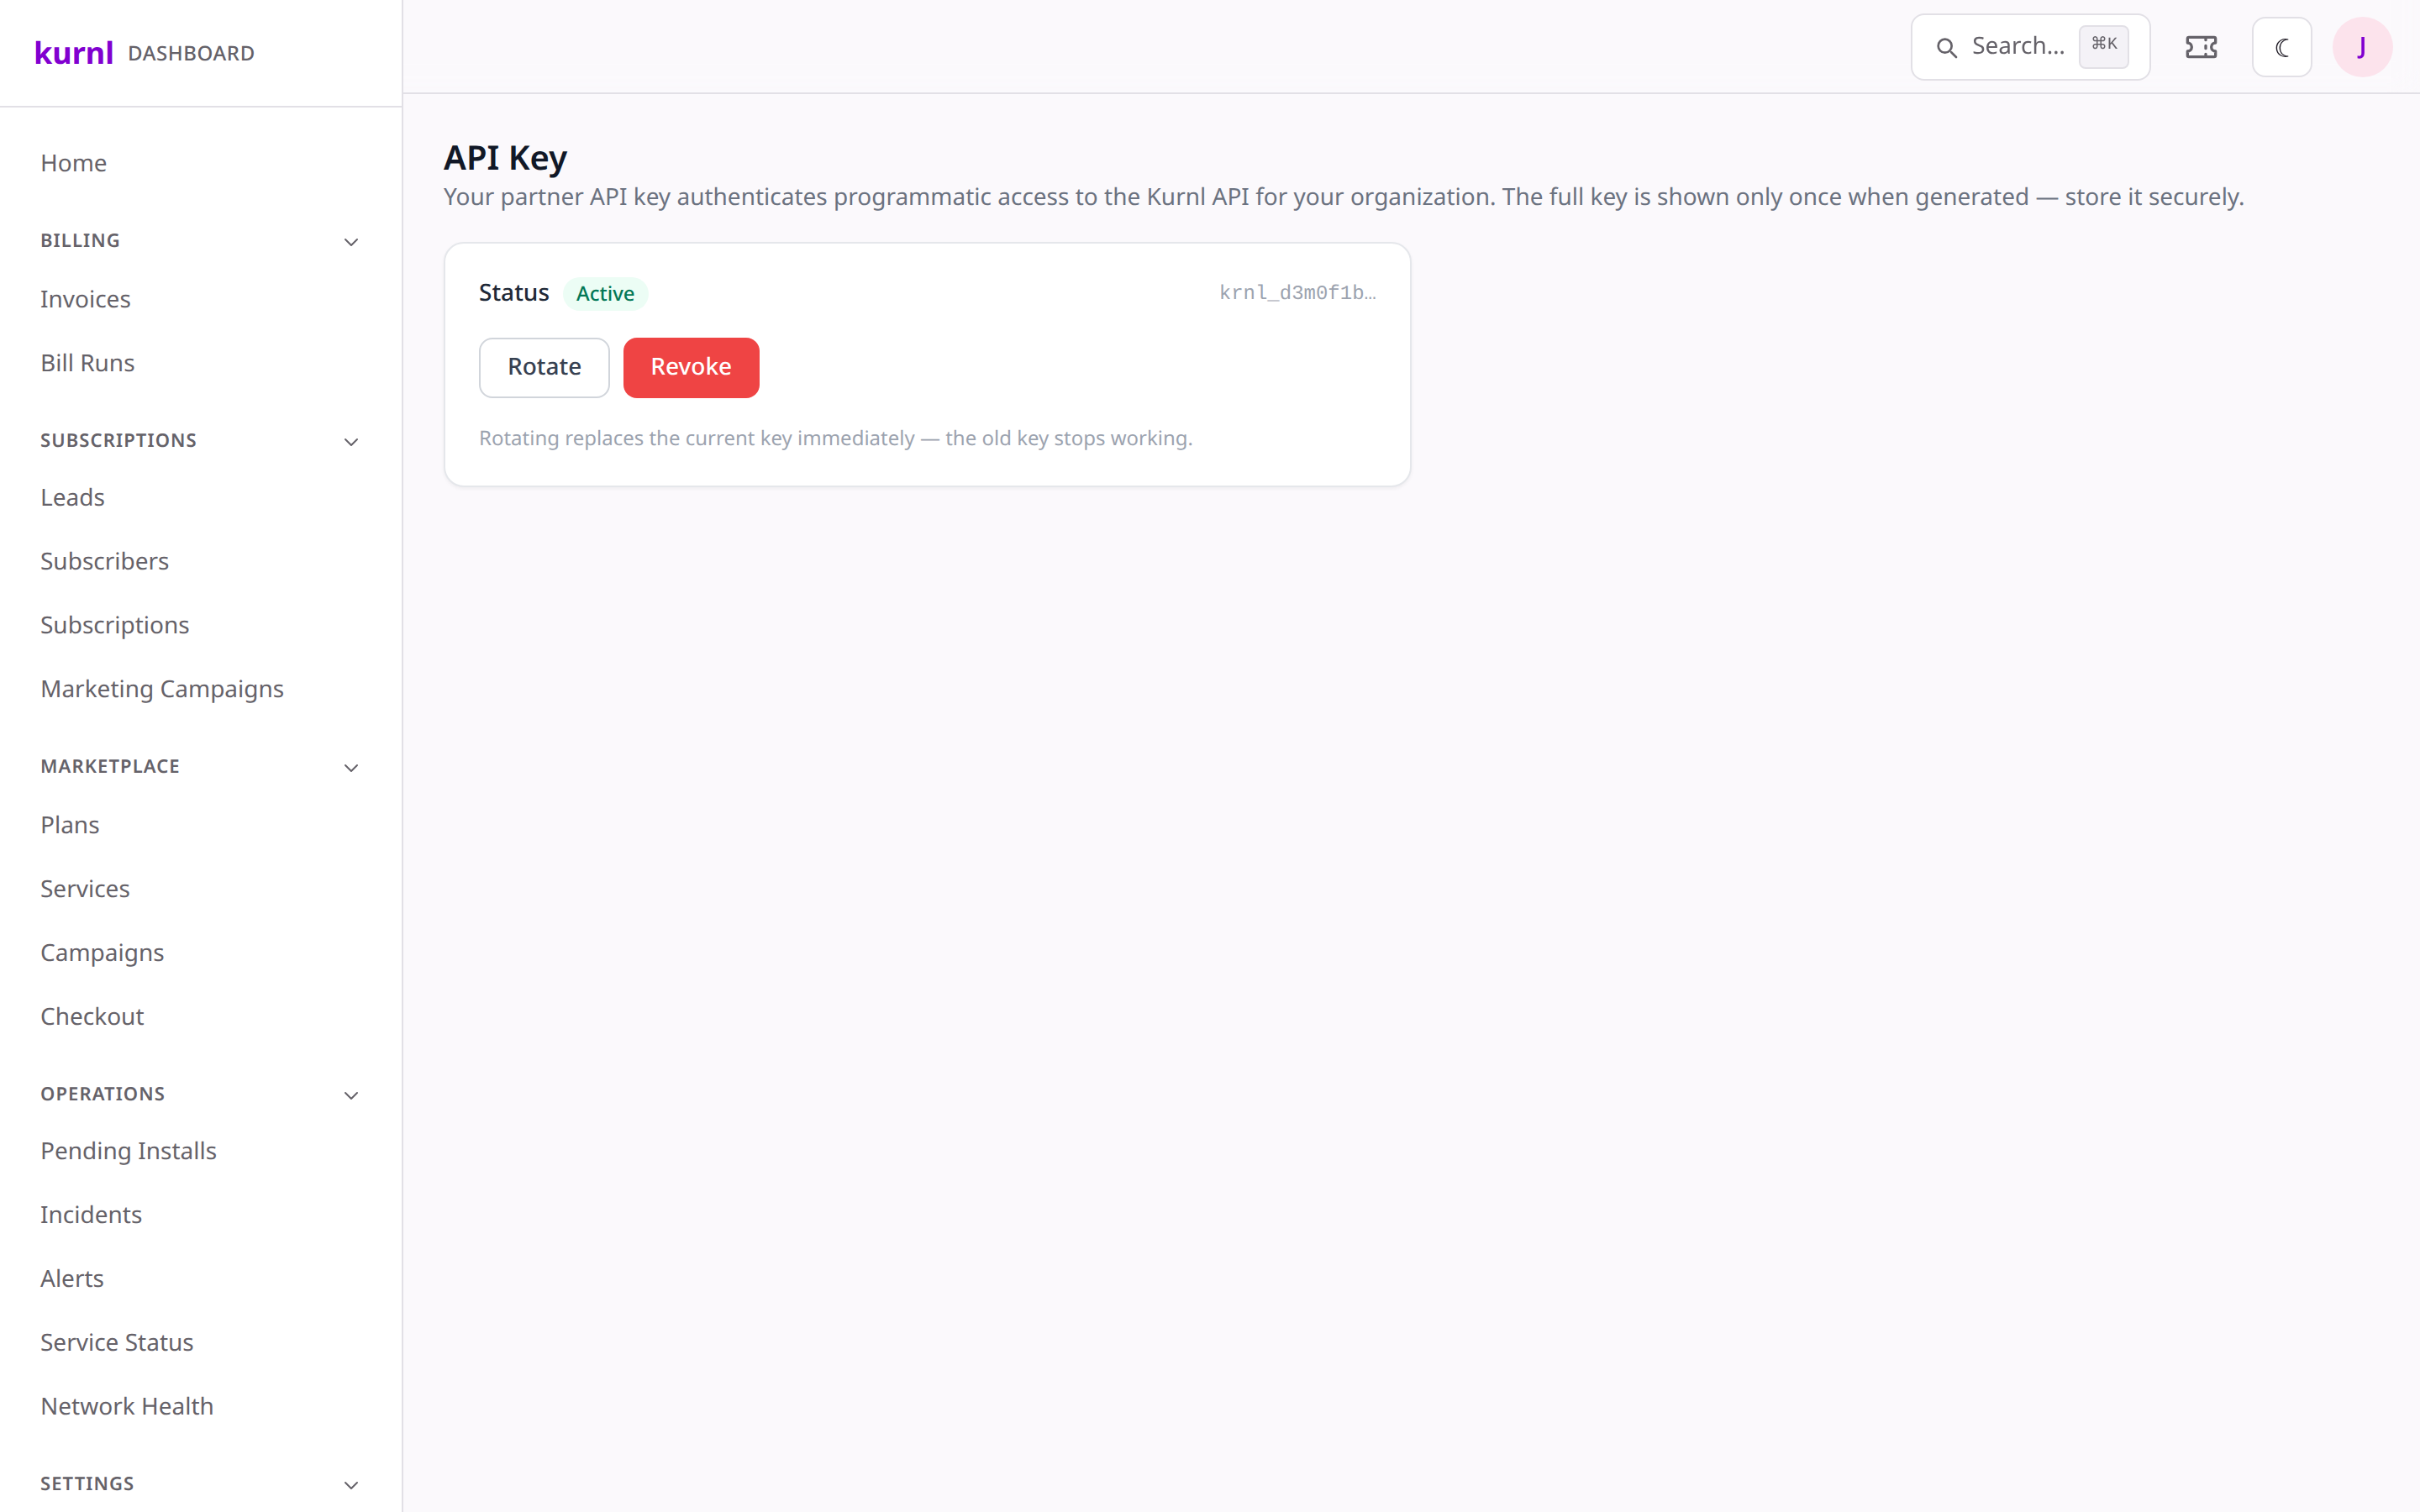
For programmatic access, each provider can hold up to 10 active API keys,
each with its own scopes, label,
creator, and last-used timestamp.
1
Open API Keys
Go to API Keys to see every key — label, prefix, scopes, who created
it and when, when it was last used (accurate to ~5 minutes), and whether
it is active or revoked.
Partner API keys
2
Create a key
New key asks for a label and the scopes the key should carry — grant
each integration only what it needs (the agent scope is selectable only
when the provider’s AI-agent feature is enabled). The full key is shown
once; store it immediately.
3
Rotate gracefully
Rotation no longer breaks integrations: create the new key, switch the
integration at its own pace, then revoke the old key. Revocation takes
effect immediately on the worker that served the request and within about
5 minutes everywhere else. Check “last used” before revoking to spot keys
that are still in service.
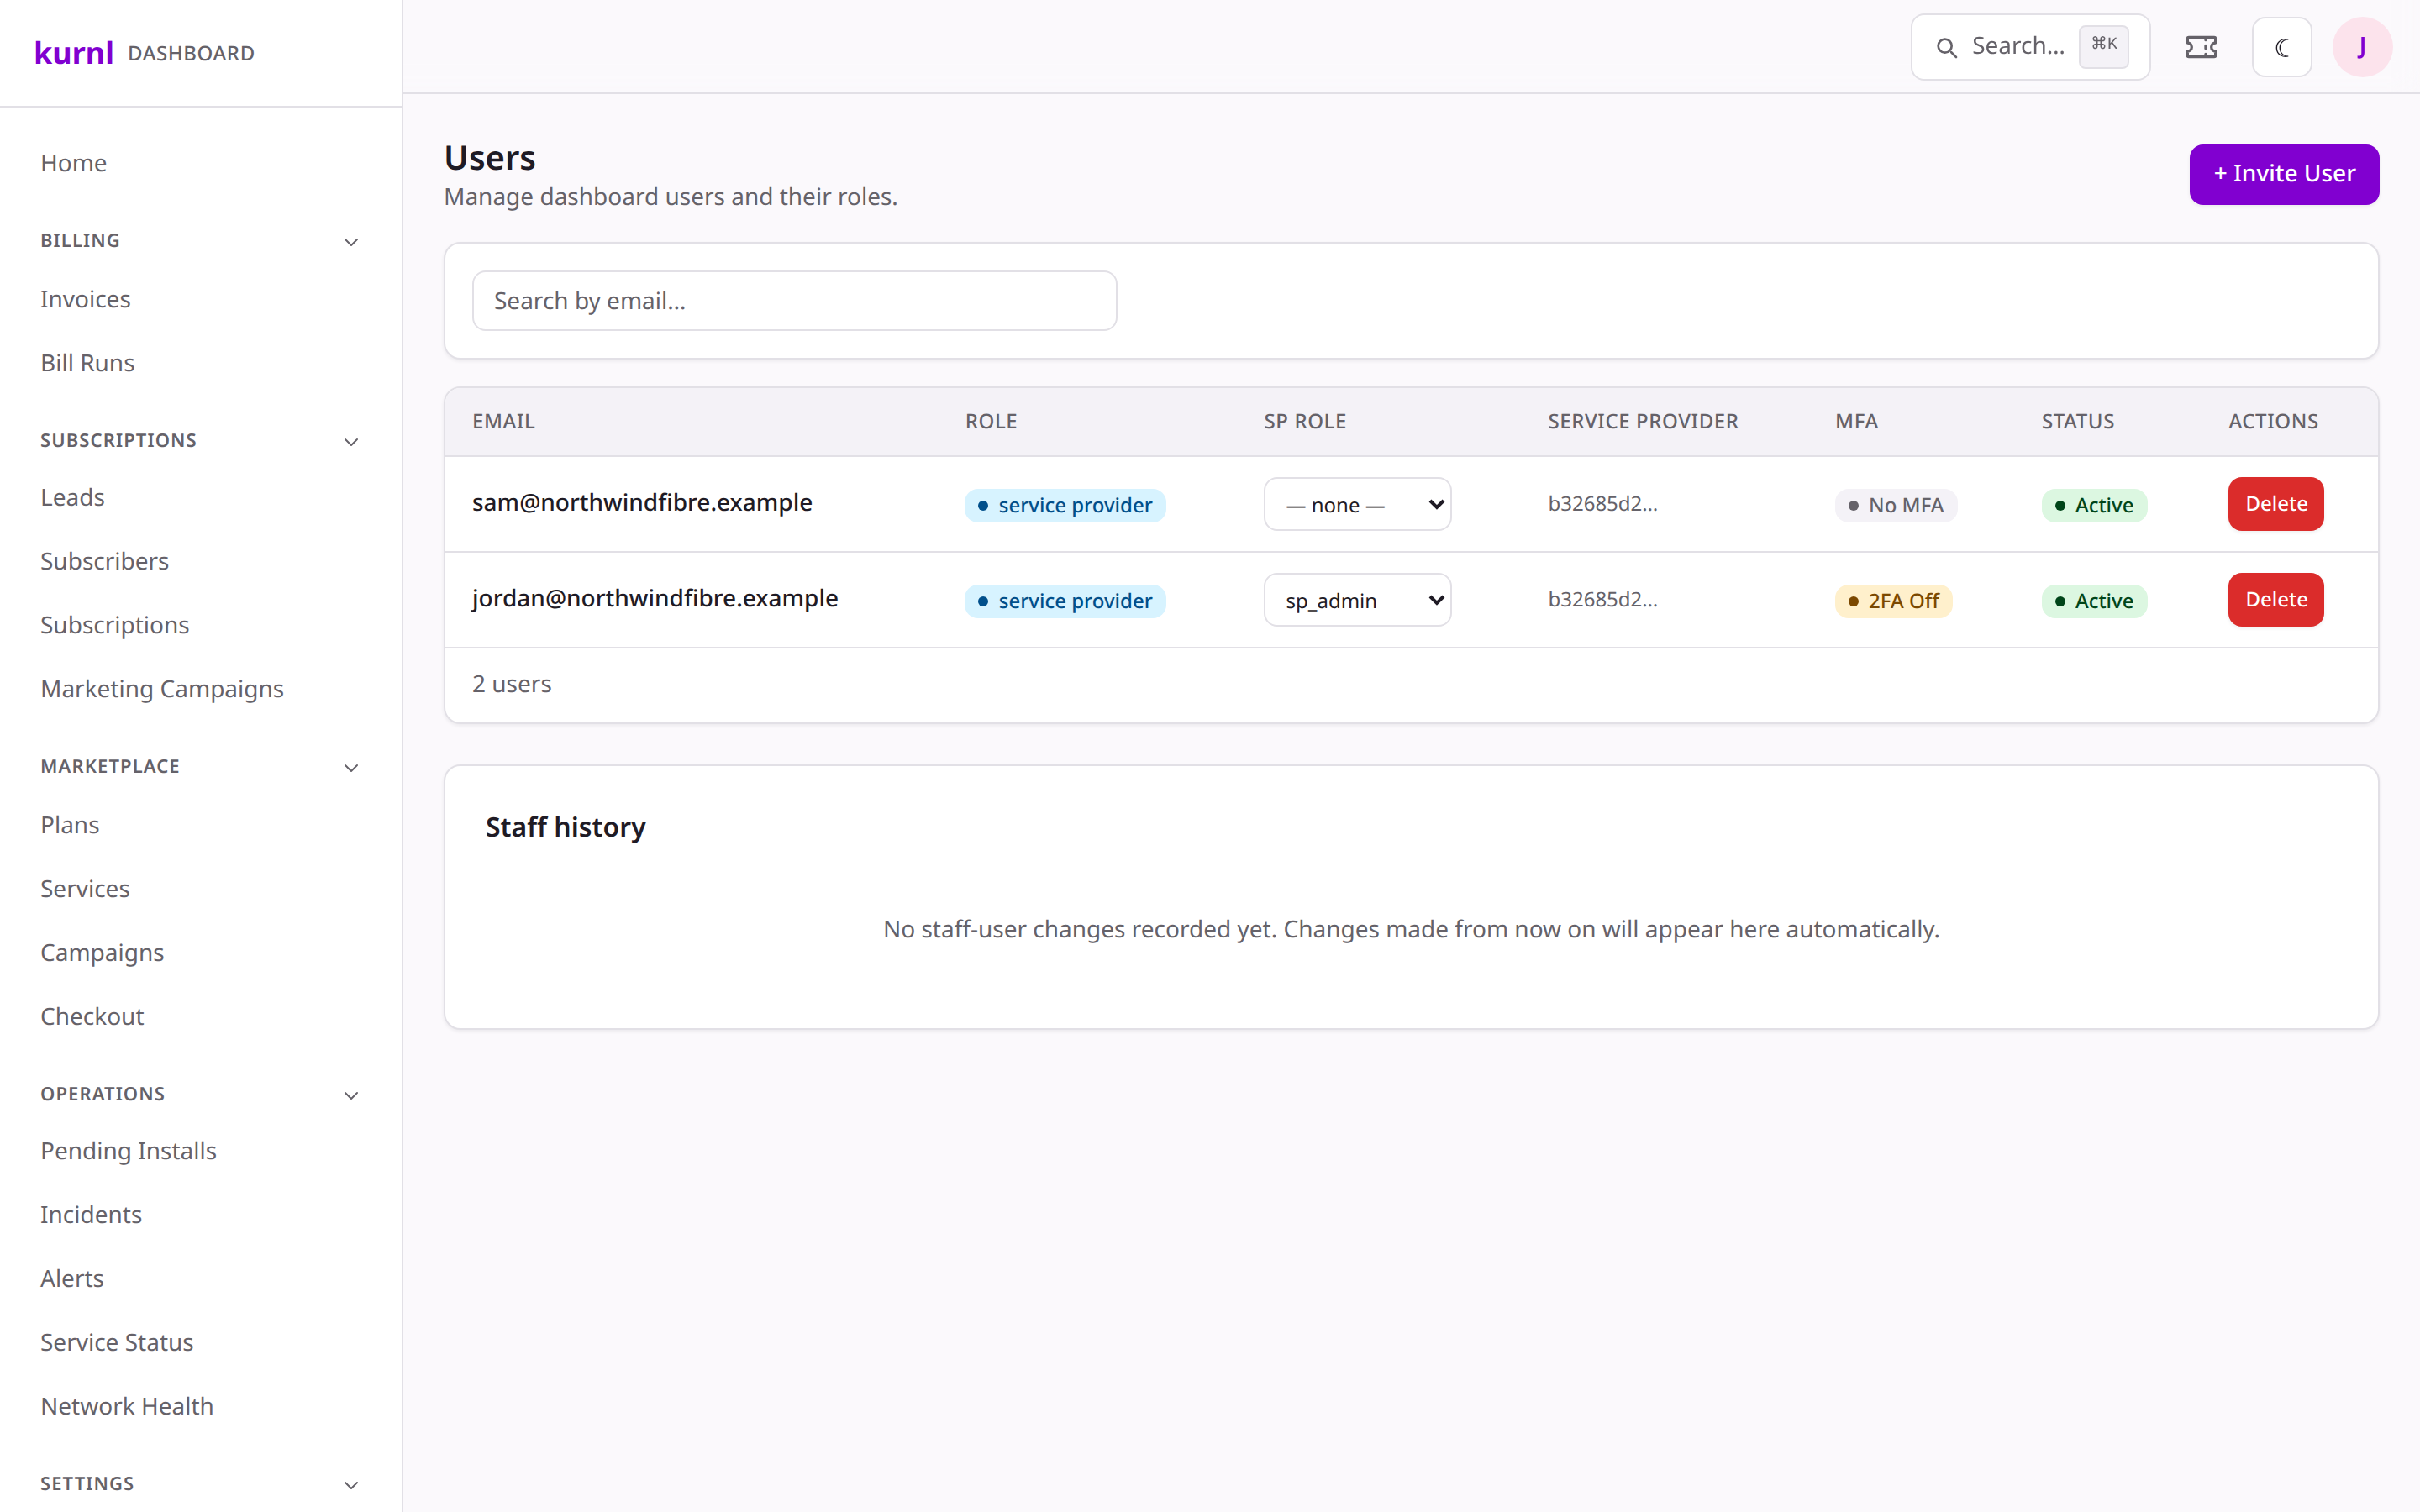
Go to Users to invite ISP staff and set each one’s sub-role —
sp_admin (full), support, sales, or bookkeeping — which gates
what they can see and do. A staff-history view shows changes.
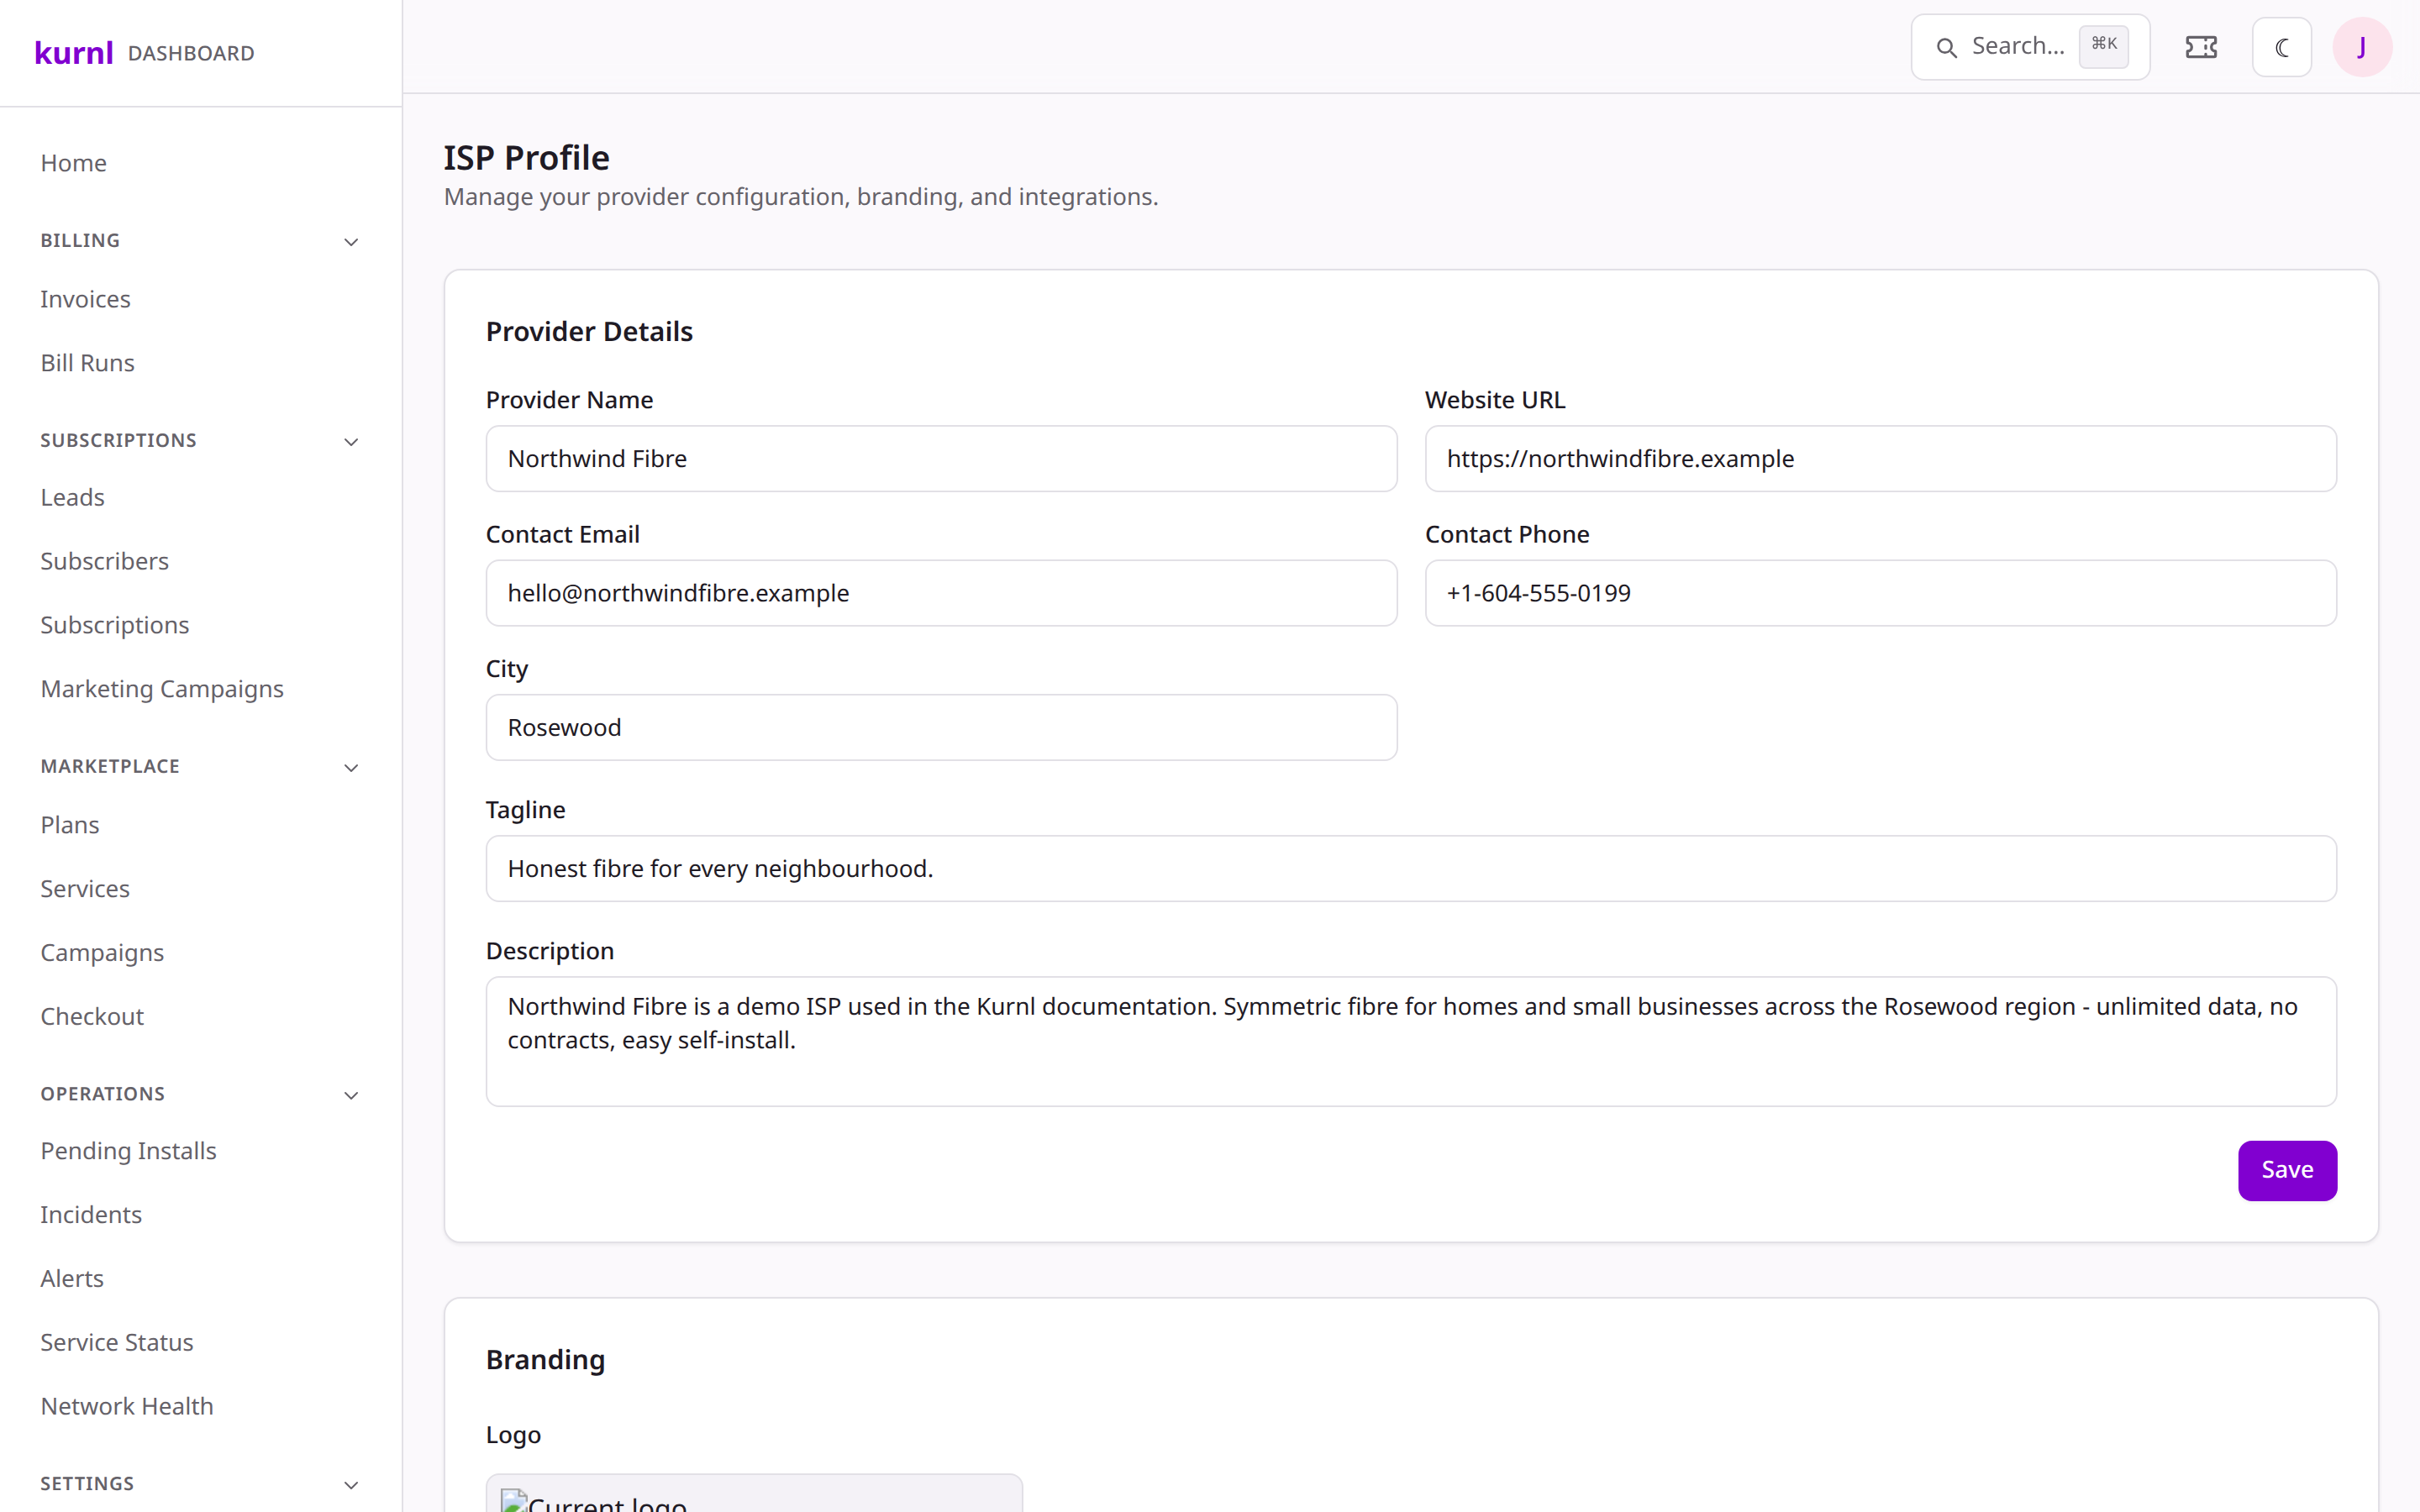
ISP Profile is your self-service home for provider configuration,
branding, and integrations — the details subscribers and the platform use to
represent you.