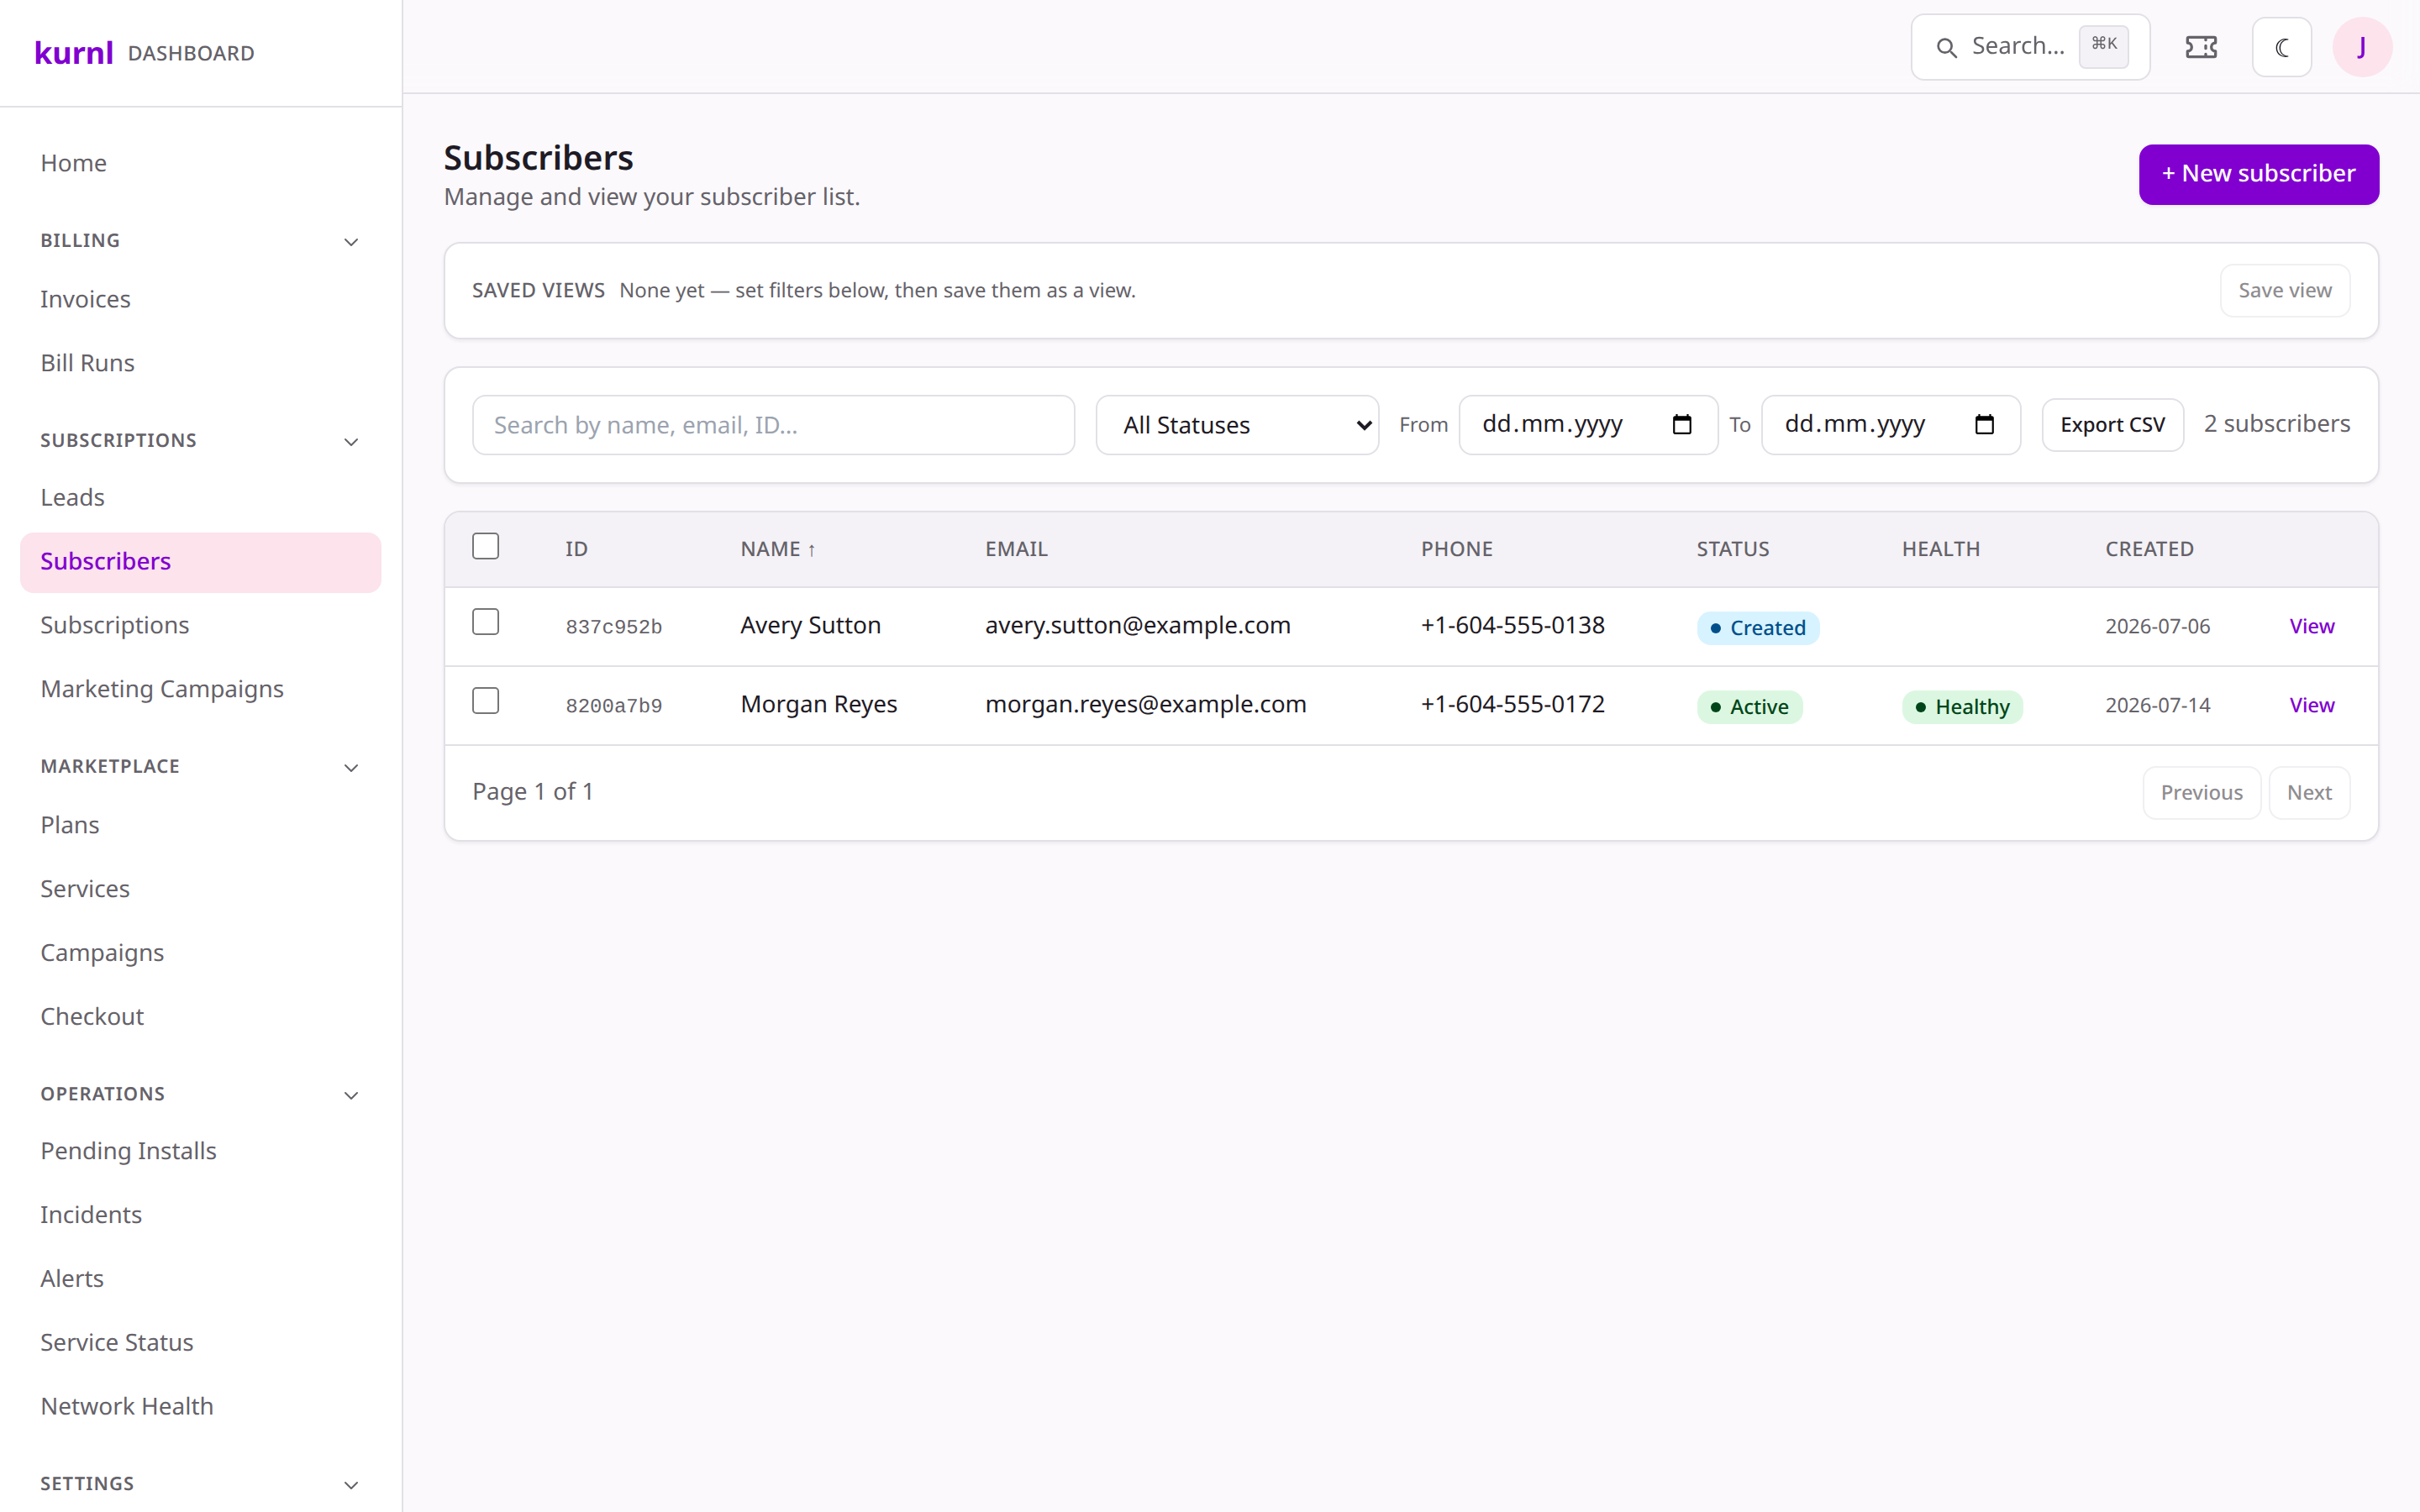
Register a customer and put them on a plan from the dashboard — create the person under Customers, then add a service location from their detail page.
This guide walks through adding a customer and giving them a subscription
directly in the dashboard — no API required. Use it for phone/walk-in
sign-ups or when you’re onboarding a customer on someone’s behalf.
You need customer access (any sp_admin, or a support/sales staff member
with the subscribers permission). Everything here is scoped to your own
provider account.
Fill in First Name, Last Name, and Email (required), plus
Phone and Company if you have them, and pick Residential or
Business. Below the divider, add the Billing address (street, number,
city, postal code, province, and an optional apt/unit).
3
Create it
Click Create customer. You land on the customer’s detail page — the
cockpit — ready for step 2.
Subscriptions are added from the customer’s detail page, one per service
location.
1
Add a location
In the customer’s Service Locations card, click + Add location.
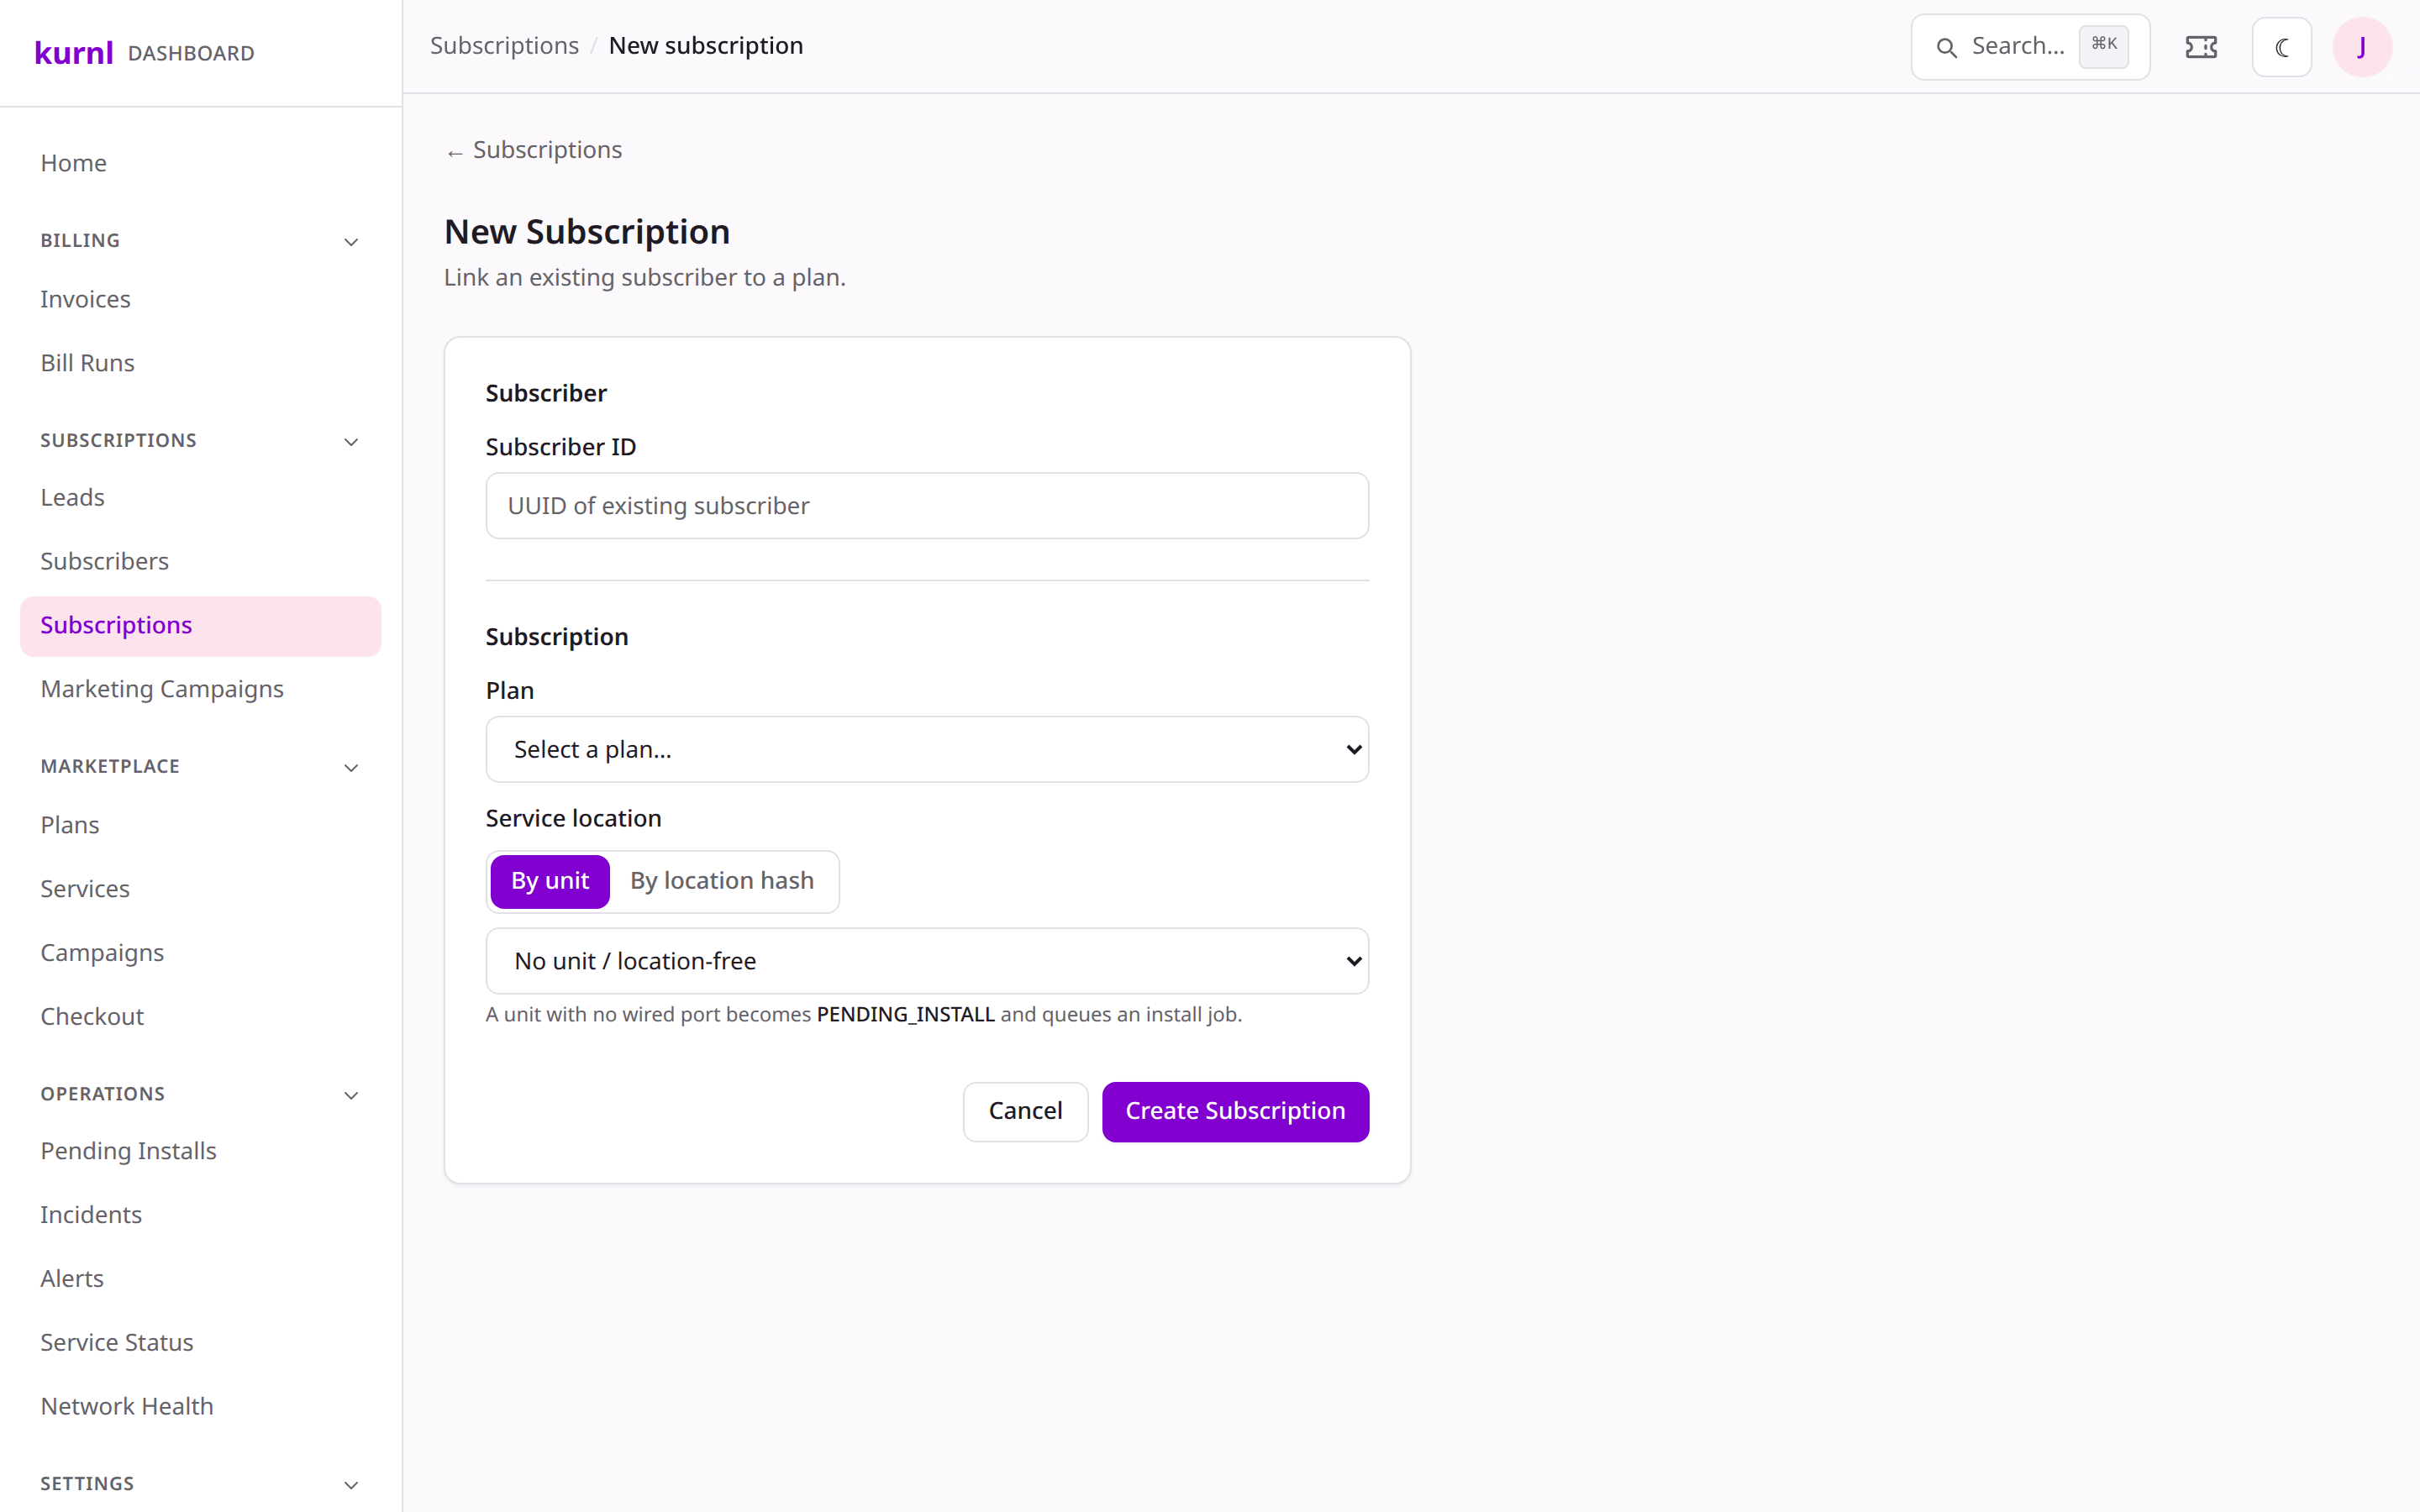
New subscription form
2
Pick the plan
Choose a plan — the list shows each plan with its monthly price. The plan
determines the speed and the wholesale product behind it.
3
Choose the service location
Use the toggle: By unit (a building unit — a home-drop with no wired
port becomes PENDING_INSTALL and queues an install job) or
By location hash (the 10-character captive-portal hash of a wired
switch port — paste it and click Resolve; the subscription is created
as Pending).
A unit that already has an active or pending subscription can’t be double-booked —
the form will stop you with a clear message.
4
Create it
Submit. The subscription is created as Pending install (home-drop) or
Pending (wired port). No money moves and no port is activated at this
point.
External plans (services not delivered over the kurnl network) skip the
location step entirely — there’s no unit, port, or install job, and the
subscription goes straight to Active and bills normally.
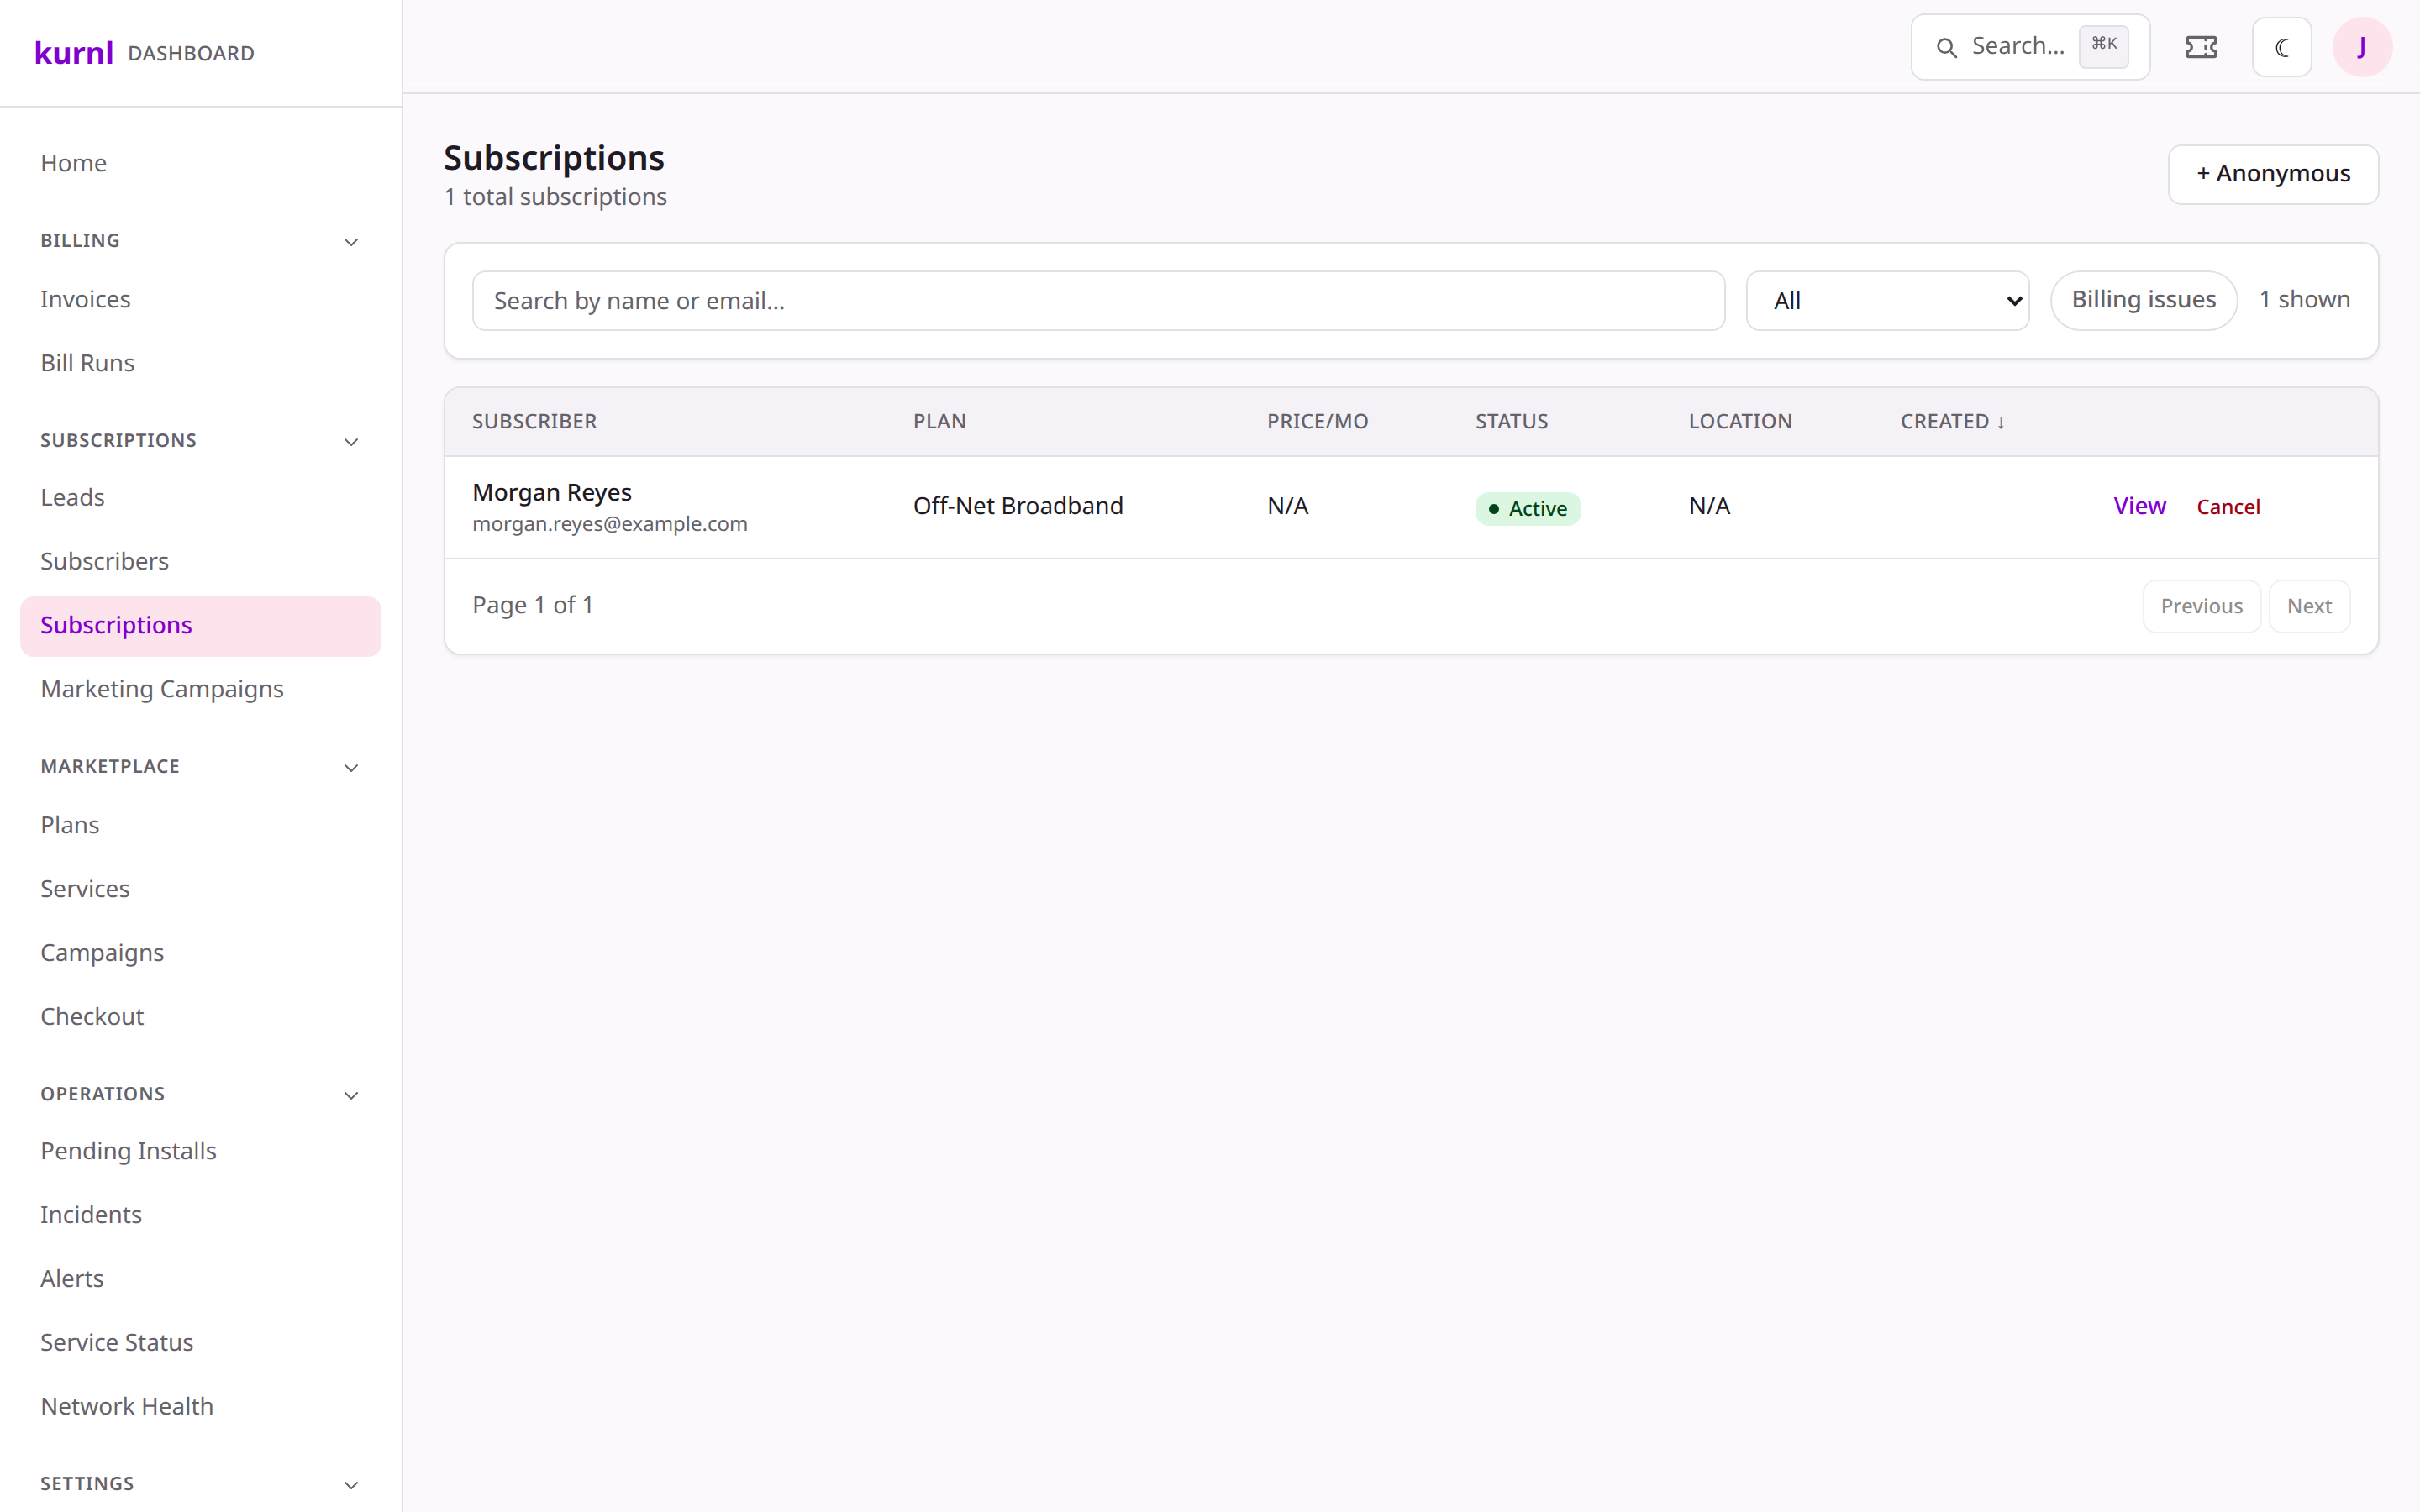
The Subscriptions page lists every contract, but its only create action
is + Anonymous (a port-level subscription with no named customer). To
put a person on a plan, start from their customer page as above.
There’s no manual “Activate” button — activation follows the install and
provisioning flow:
Pending install — the queued install job goes through
Installs & field service; when the technician marks it
done, the port is provisioned (VLAN + bandwidth on the switch), the
subscription activates, and billing starts.
Pending — a wired port activates when it’s provisioned; billing starts on
activation.
External — already active and billing; nothing to install.
Once live, the actions on the subscription are Change plan, Cancel
(which resets the port — undo via Reactivate), and service checks from the
cockpit.
An active subscription
Want to try this end-to-end without touching a real port or charging a card?
Do it in the dashboard sandbox first.